
Enhance your little rider’s outdoor playtime with this DIY traffic light! This craft will encourage imaginative play as toddlers and preschoolers drive their riding toys around the backyard or sidewalk. Kids can learn all about traffic safety and what it means to stop, slow down and go. It’s always a good time to talk to you kids about . What better way to teach them about safety than through play!
Here’s what you’ll need:
- Empty tissue box
- Wrapping paper and its cardboard tube
- Crafting cattails (a ruler or 6” metal rod will also work)
- Scissors
- Tape
- Markers (red, yellow and green)
- Pencil
- Cup (or something else circular for tracing)

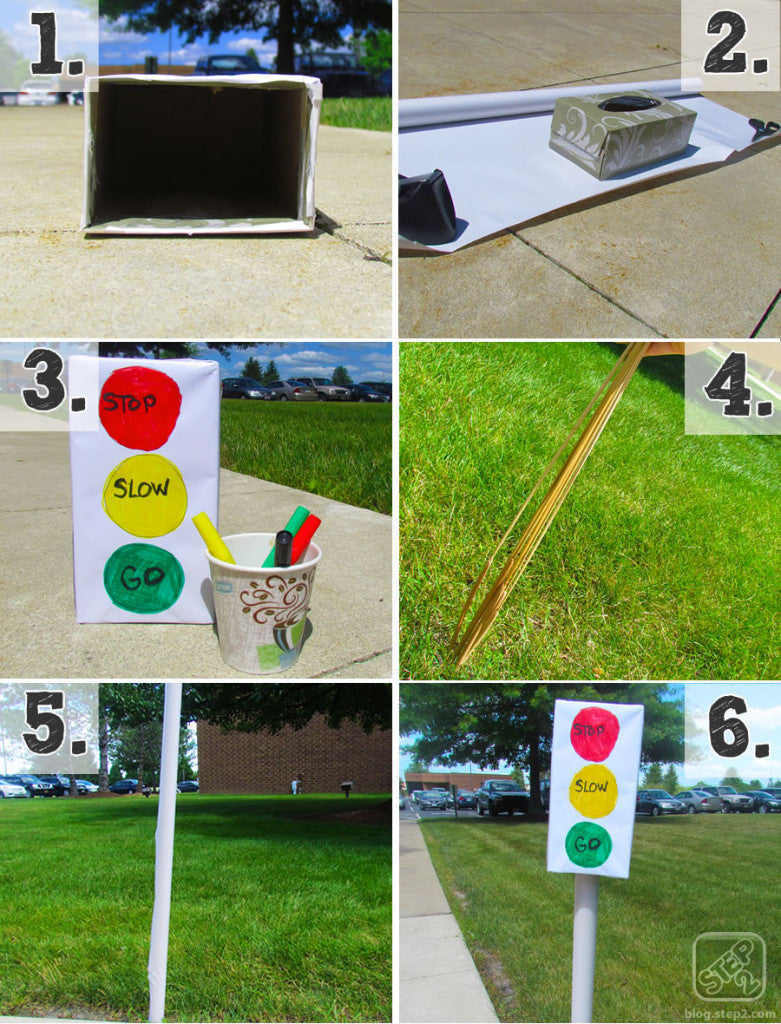
- Open one side of the empty tissue box and fold the loose flaps inside or cut them off.
- Wrap the five sides of the tissue box and keep the opened side unwrapped.
- Use a cup or other circular item to trace and color three circles onto one side of the tissue box. It’s optional to write, “Stop, slow and go” on the appropriate circles.
- Stick numerous cattails into the ground. If the cattails are not secure, you can also use a ruler or 6” metal rod.
- Place the remaining wrapping paper tube over the cattails.
- Put the traffic light on top of the wrapping paper roll.
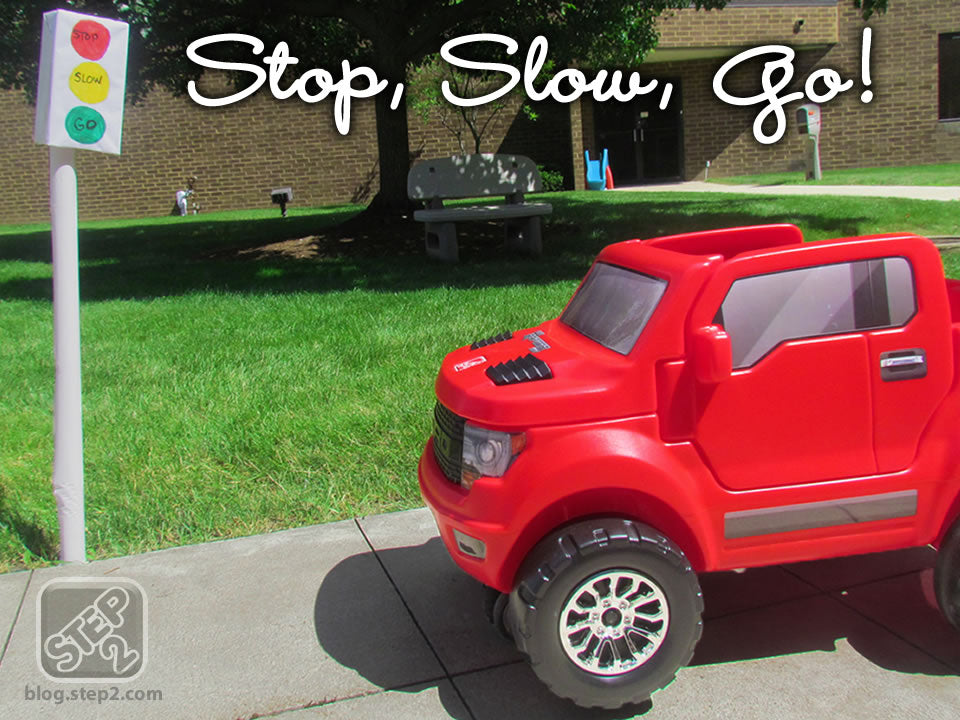
P.S: The toy truck featured in this blog post is the, one of our best ride on toys!
Manufacturer’s Note: Please make sure children are the recommended age to play with the product featured in this blog post. Adult supervision is required.
